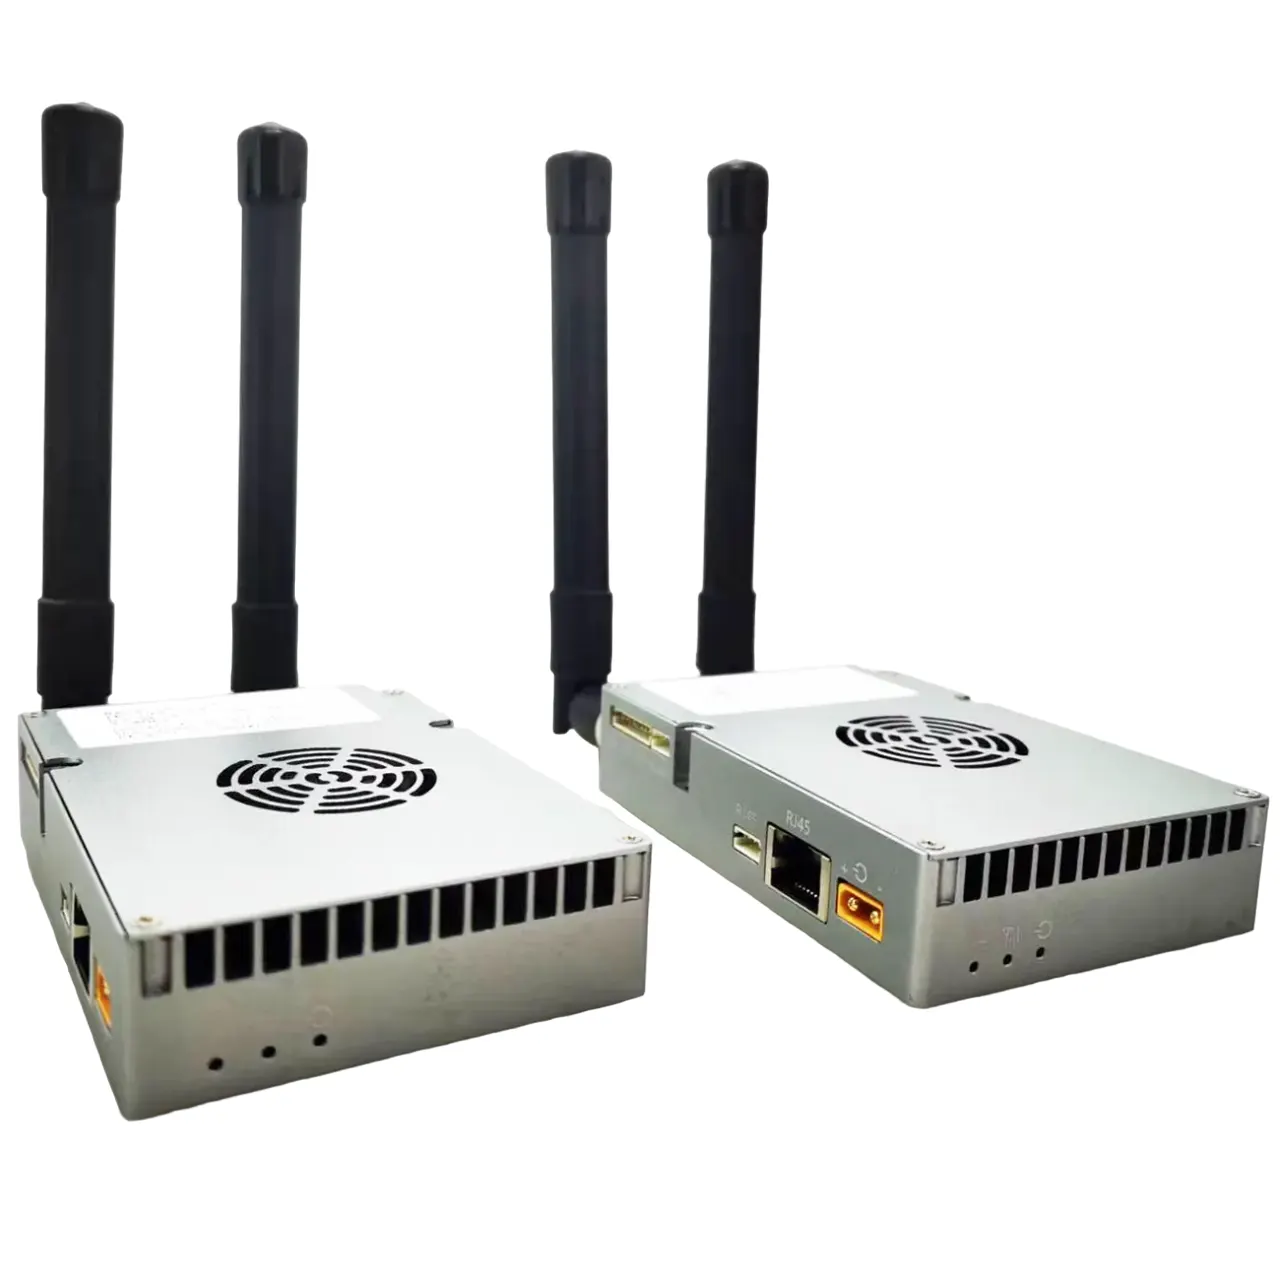
How to upgrade the COFDM Video Receiver firmware
Some clients want to upgrade the firmware COFDM video receiver. Before the cargo delivery, they need the receiver to support the RTSP player, now they need the receiver to support the UDP player. They found some new problems, we can send an upgrade of firmware to improve it.
How to upgrade your wireless video receiver? In the video, I will show you how to make the upgraded SD card, and then upgrade your receiver with this upgraded SD card. Hope it is useful for you.
Some clients want to upgrade the firmware COFDM video receiver. Before the cargo delivery, they need the receiver to support the RTSP player. Now they need the receiver to support the UDP player. Or Maybe you found some additional problems. We can send an upgrade of firmware to improve it.
How to upgrade the COFDM video receiver firmware?
In the above YouTube video, I will show you how to make the upgraded SD card. And then upgrade your receiver with this upgraded SD card. Hope this is useful for you.
Please prepare an SD card first. Connect the SD card to the computer. It is better that the SD card is blank. Or it’s okay if there is content, but if there is content. You need to back up the content because it disappears after formatting. Our current card is 16Gb size. I recommend you to use 4Gb to 16Gb. Because it is used more often. If it’s too big, some customers encounter problems. You can try it too, but it doesn’t mean it won’t work.
After the card is ready, we will then open this tool I have sent you or download it from our website: files in Win32 Disk Imager. There are three steps here. The first step is to select the update.img file to the SD card. We need to write this updated image into the card. Just like a ghost software tool. In the second step, select the drive letter you want to use for the card. For example, take a look at our current drive letter. The SD card is G drive, so don’t choose the wrong one. In the third step, write. Click to confirm. Then the computer shows to start writing files.
After writing, we can look inside the card. Before the SD card is blank, see what appears after writing the card. This also, checks whether writing the card was successful. This is the writing speed. Normal cards can achieve this high speed. Unless it is a very old card, the writing speed is slower. Now the writing is finished, click OK. By this time, we have written the upgrade to the card.
Let’s take a look before the SD card is blank. Now you will find that there is content. Then go into this directory, the P1 directory is empty. This is no problem. Because the upgrade card is empty. Later we will copy my upgraded image here. The upgrade card has just been finished and prepared.
Now we need to put the update file into the upgrade card. Then unzip the upgrade package I sent you. After unzipping, you will find this EMMIC folder inside. We can see the directory name EMMC on the upgrade card. There is a P1 directory in the EMMC directory, and P1 has content. Now we need to copy the contents of P1. Or do simpler. Copy the entire directory of P1 and paste it into the SD card. Then go into the SD card and overwrite it. Well, now the card upgrade is done.
We then operate the upgrade process on the receiver. Then we insert this card into the receiver. Then power it on, Wait about 10 seconds. These two lights will light up at the same time first. They flash at the same time. Pay attention to these two green lights. They are flashing at the same time. The upgrade is complete now. Then unplug the power. Just pull out the card and it’s done.


