
Com canviar el mode de treball del mòdul COFDM
Taula de continguts
How to change the COFDM module working mode
released on 2021-6-15
Special note: this document only applies to our COFDM module of the following software versions:
- Targets VCAN1726-HDMI+CVBS TX Transmitter Module:
- Software firmware version: v6.6.1_2021.4.7
- Targets VCAN1726-SDI+AHD+CVBS TX Transmitter Module
- Software firmware version: v6.6.1_2021.4.7
- Targets VCAN1726-RX receiver Module
- Software firmware version: v4.1.0_2021.3.11
(VCAN1776 uses the VCAN1726 module plus the PA and metal to assemble a complete full set for the normal end-user.)
The firmware programmed during the shipment of these three versions of our COFDM module already supports:
- Standard DVB-T protocol
- COFDM protocol
- COFDM H.264 low latency protocol
There are three different working modes. You only need to use serial port AT commands to switch between these three working modes.
1. Check the Software firmware version of your COFDM Module:
Method 1: Check the firmware version through the parameter configuration panel.

Method 2: Send AT commands through the serial port of the module to check the firmware version.
comandament AT: ATDR_, this command will return the firmware version of the module.
Only after querying and confirming that our COFDM module model and firmware version are the module versions applicable to this document can you switch between the three working modes according to the serial port AT commands introduced below.
2. Switch the working mode of our COFDM Module:
The following operations of switching the module working mode through serial port AT commands must be restarted to take effect after the module is restarted.
1. TX Module and Rx Module switch to Standard DVB-T protocol operating mode:
- Please send the serial port command”ATSTS1_", and set the TX Module and RX Module to use the standard DVB-T protocol working mode
- Send serial port command to TX Module “ATSE0,0,0.0,0,1_“, disable low-latency mode
- Send serial port commands to RX Module “ATSR470000,6000,0,0_“, disable low-latency mode
2. TX Module and Rx Module switch to our COFDM H.264 low latency protocol operating mode:
- Send the serial port command”ATSTS0_“, and set the TX Module and RX Module to use our COFDM protocol Operating mode
- Send serial port command to TX Module”ATSE0,1,0.0,0,1_“, enable COFDM H.264 low latency protocol operating mode
- Send serial port commands to Rx Module”ATSR470000,6000,1,0_“, enable our COFDM H.264 low latency protocol operating mode
3. TX Module and RX Module switch to our COFDM protocol Working mode (normal delay, non-H.264 low delay):
- Send serial port command”ATSTS0_“, and set the TX Module and Rx Module to use our COFDM protocol operating mode
- Send serial port command to TX Module “ATSE0,0,0.0,0,1_“, disable low-latency mode
- Send serial port commands to RX Module “ATSR470000,6000,0,0_“, disable low-latency mode
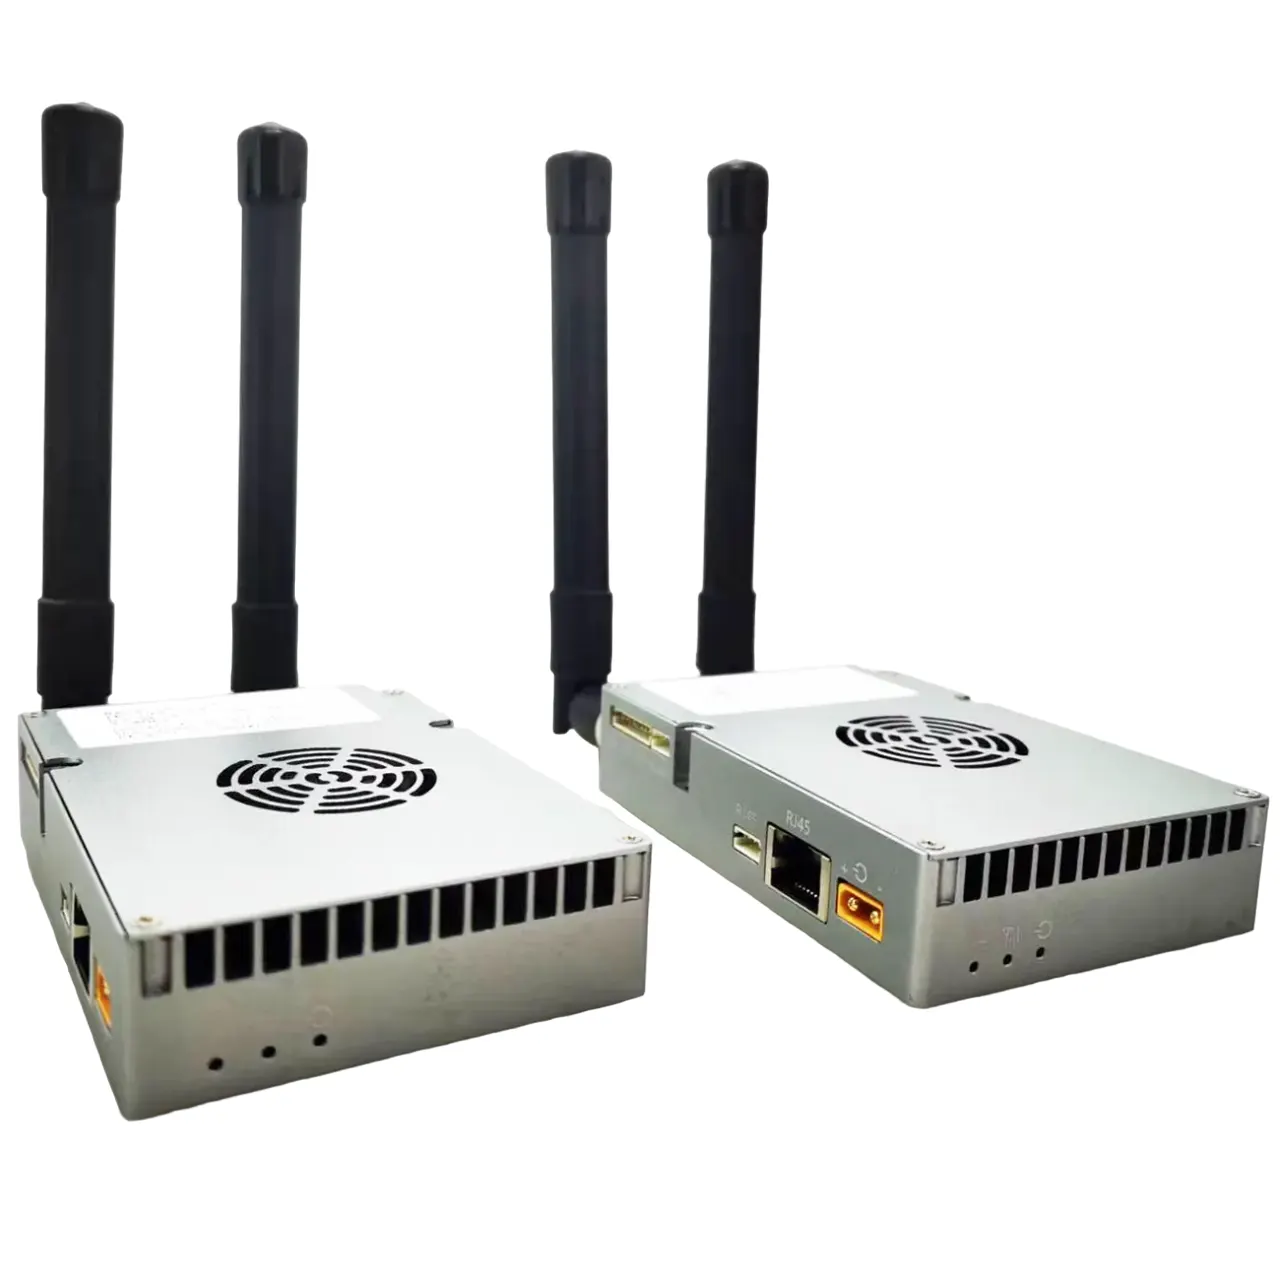
This operation is suitable for the below cofdm models.


Text in the video
En el vídeo, I will show you how to switch the transmitter firmware for h264 low-latency to standard DVB-T firmware.
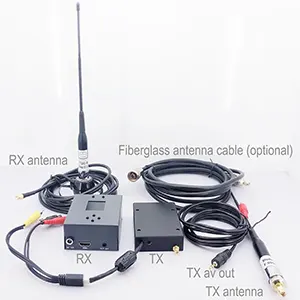
Let’s take a look at the hardware, transmissor COFDM, receiver boards, and a universal DVB-T receiver. Now we use two receivers to get the transmitter signal simultaneously. The left side model is a low latency receiver, and the right side is the standard DVB-T receiver.
Now we are going to control this transmitter firmware through this serial port. The serial port tool on the computer mainly sends two commands.
Now run this command, ATGE_, this command is to query the encoding setting of the current transmitter. The first parameter, 0 represents 264 codificació, i 1 represents 265 codificació.
The second parameter 0 represents whether low latency is required. Ara 0 means non-low latency. Because ordinary DVB-T receivers need to receive, we configure 0. Mainly these two commands to control 264 o 265 and select low latency or not.
Then let’s look at another command, ATGTS_. This command is the control protocol: If it is 0, it is our custom COFDM protocol, If it is 1, it is the standard DVB-T protocol. So now we can see that this parameter is 0, so the current firmware is our custom protocol.
Now let’s look back at our ultra-low latency receiver. It can decode well. We can see that this light is flashing normally, The video display is good. Then this DVB-T receiver cannot decode, So his display is black. No video output.
Now let’s modify the decoding protocol. Run another command ATSTS1_. Now we change the protocol parameter is 1, before it is 0
run ATSTS1_ and enter. Look above, the parameter is changed to 1
Look here again, After changing the protocol, the transmitter must be restarted, The current receiver remains unchanged. I only modified the transmitter. Then unplug off power and restart. Now the transmitter is started and work. This receiver can no longer receive the video. You see, the green light is not flashing. There is no video on his monitor either.
Now this universal DVB-T receiver receives the signal, There is also video on its connecting monitor. For other commands, please refer to our technical documentation.