


FAQs about Wireless Video Transmitter and Receiver
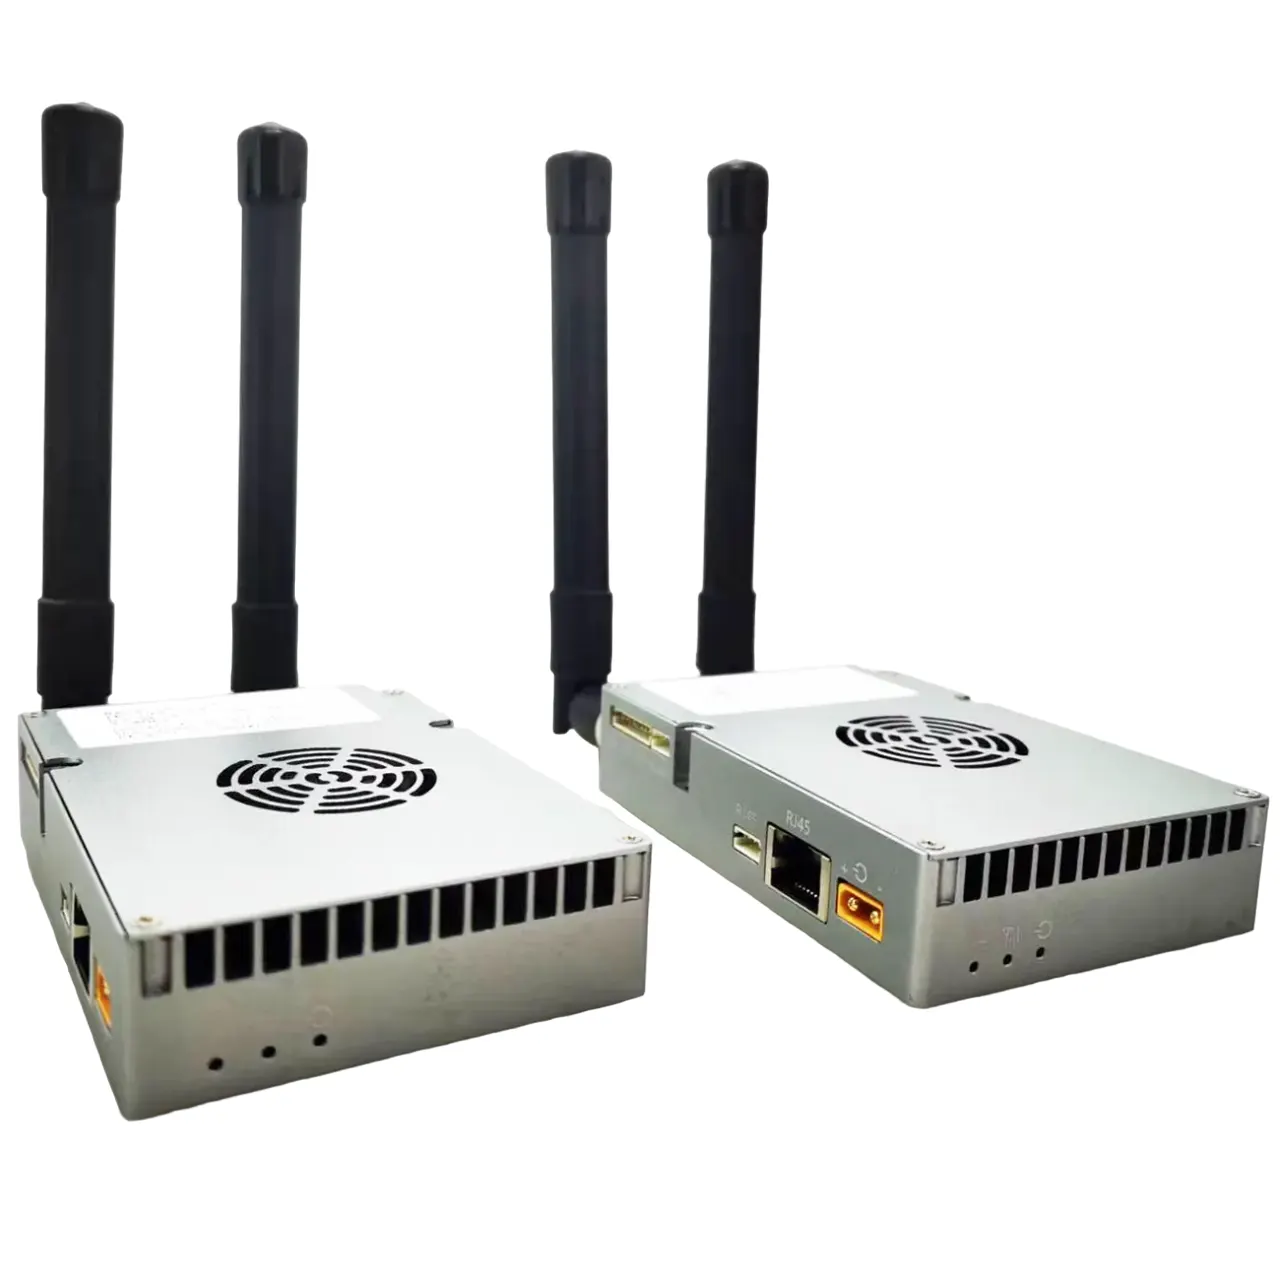
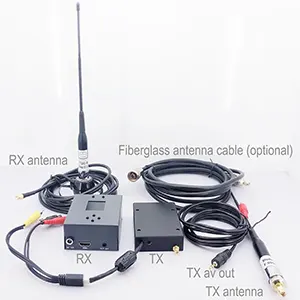
Our wireless video transmitters have these types of video input interfaces: HDMI 1080P and 4K HDMI, CVBS composite, SDI, AHD, IP Ethernet, BNC, or tell us what type do you need, our engineer will modify to meet your demand.
Our transmission distance can be adjusted by adding power amplifiers. At present, the main ones are 15кмдан, 30кмдан, 50кмдан, 80кмдан, 100кмдан , and 150km, which depend on the needs of customers.
Of course, the transmission distances listed above are all within LOS the line-of-sight range. If there are obstacles between the transmitter and the receiver, НКП-ЫН (the non-line-of-sight), the transmission distance is greatly reduced, only 1km or 2km, depending on the number of intermediate obstacles and the local wireless environment.
One-way means, We can only transmit and download video or data from the wireless video transmitter to the receiver in one direction, and we cannot upload video or data from the receiver to the transmitter. This type is also called simplex.
Two-way means that, not only we can download video or data from our wireless transmitter to the receiver, but also we can upload the video or data from the receiver to the transmitter. This is very suitable for operating drones. You can not only see the real-time video transmitted from the drone, but also upload the command to control the drone or the command to control the PTZ camera to adjust the angle to the transmitter. This can operate simultaneously. This type also named half-dulpex or full-duplex.
Please check the details at the below link. https://ivcan.com/request-a-quote-of-wireless-video-transmission/#simplex
Most Wireless video transmitters now support AES128 or AES256 bit encryption and decryption, depending on which model you choose. Please contact us to verify.
The frequencies of both the wireless video transmitter and the wireless video receiver can be modified. Users need to purchase additional parameter configuration boards.
Однако, considering that the corresponding power amplifier and antenna are already fixed within a certain range when the goods are sent out. If the user adjusts the frequency of the transmitter, the corresponding power amplifier, transmitter antenna and receiver antenna should also be modified to the same frequency, and these users need to be prepared. If not, it will cause the frequency of the wireless video transmitter to be different from the frequency of the antenna, making reception difficult. So please be sure to inform the correct frequency you need before placing an order.
If it is for security or confidentiality, you can use the encryption and decryption functions of the transmitter and receiver, which can ensure that your video transmission is private. .
Мане, all our product parameters can be customized according to customer's needs. If you have a special request, please let us know via the link below.
https://ivcan.com/request-a-quote-of-wireless-video-transmission/
- Change the place of the receiver to avoid potential local interference from strong magnetic environments.
- Ensure that the antennas on both the transmitter and receiver are vertical.
- Please raise the antennas of the transmitter and receiver to maintain a certain height difference.
- Please look around to ensure that there are no obstacles between the transmitter and receiver.
- Change the orientation of the receiver antenna.
- If it doesn't work, try moving the receiver to be near the transmitter's position to see if it exceeds the effective wireless transmission distance.
- Or consider adding a relay of the transmitting between the transmitter and receiver.
- The antenna should be as high off the ground as possible, as the ground will absorb the transmitted signal.
Of course, we also understand that wireless video transmission transmitters and receivers are very expensive. You are far away from the China factory. and hope that the goods you receive are fit for the best performance.
If you pay special attention to a specific parameter or function, we can take some test videos based on the features you want to see, please feel free to contact us. It won't be shipped to you directly without your approval.
To test the delay of the wireless video transmitter and receiver, we need to do two tests.
The first is to test the delay from the camera to the display.
The second is the camera, plus the display plus the wireless image transmission transmitter and the delay of the receiver.
Subtracting the two test results is the real delay of the wireless video transmitter and receiver.


Reviews
There are no reviews yet.