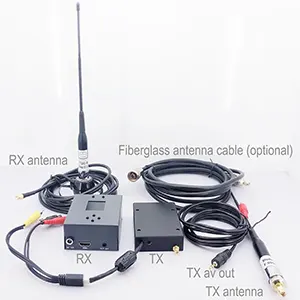

UART TCP connects the flight control Pixhawk to Ardupilot via wireless video data RC control link
Now demonstrate how our two-way wireless video data control module is connected to the drone’s flight control device Pixhawk.
First look at the connection between the drone transmitter and the flight control device, and connect the data interface of the transmitter to the terminal port of the flight control device through a wire. The data will be sent to the receiver and the computer side through the wireless link module.
On the side of the receiver, the serial port line is removed, and there is only one line. Use the TCP method to access. In the Ardupilot software of the computer, change the data interface to the TCP method, and then connect directly. Enter the transmitter’s remote IP here, which has connected to the flight control device, enter the port number, and click OK. Now it shows that the connection is successful, and getting the parameters.
This is a mobile flight control device, and the screen and data can be seen on the computer and changed accordingly.
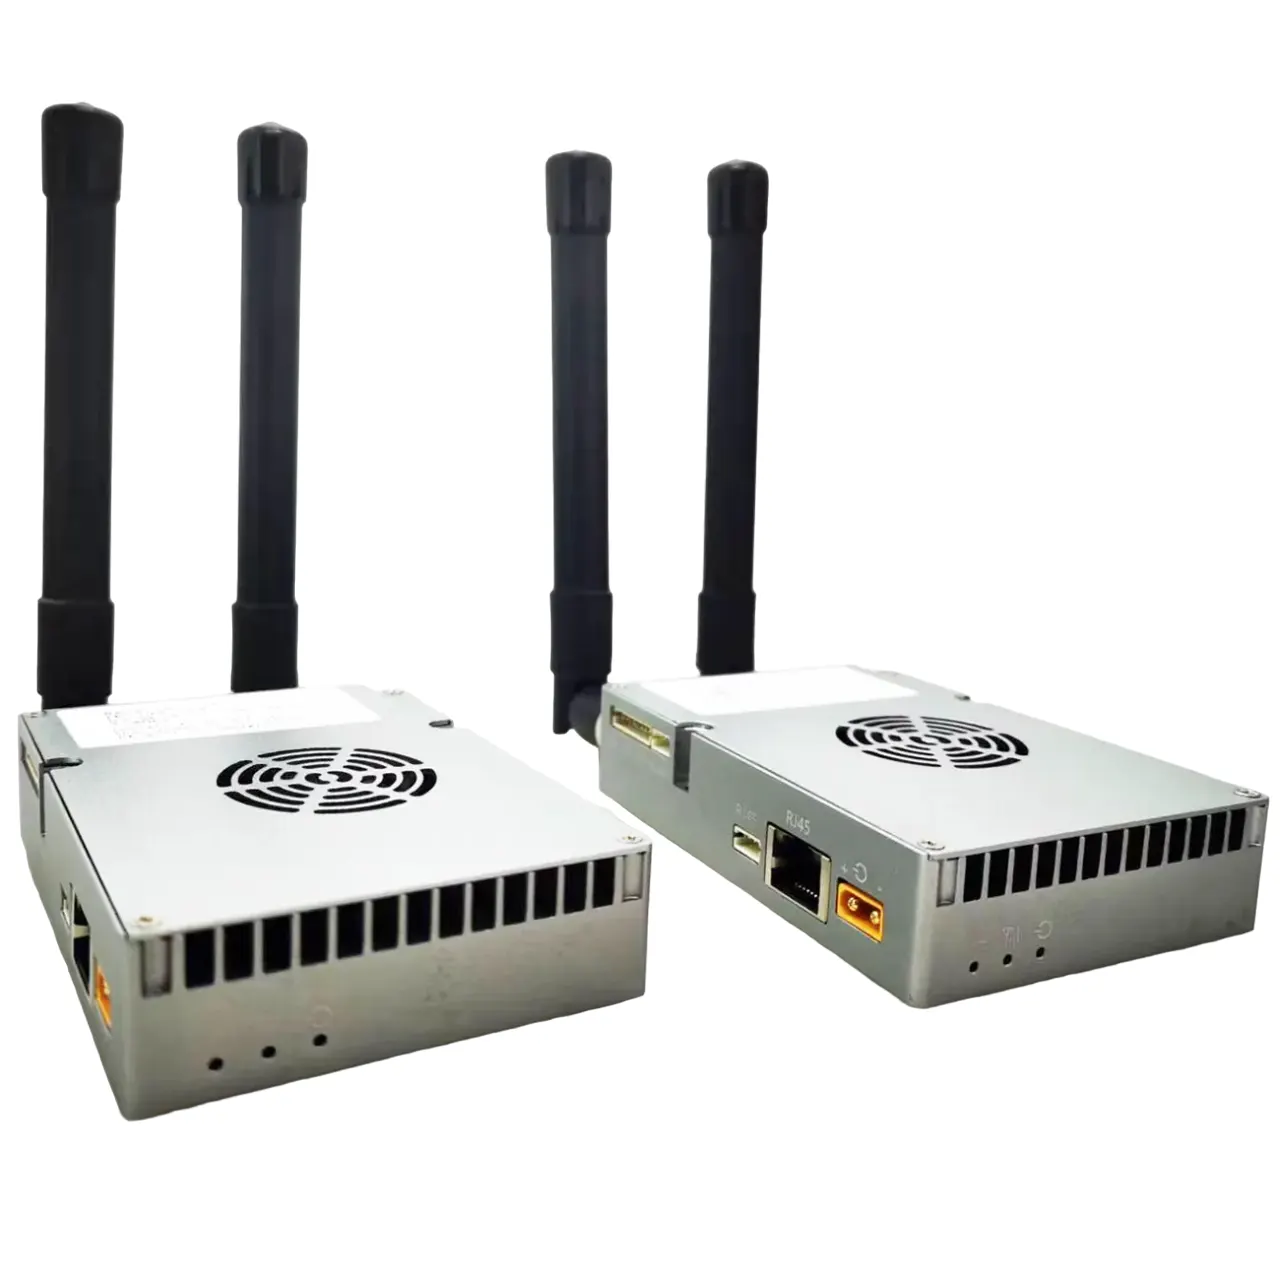
In the two-way link between our wireless video data transmitter and receiver, there are three data interfaces that support data transparent transmission. We can also modify them to TTL, RS232, Sbus, RS485, and other interface types according to customer needs.
If you encounter any technical problems when using our long-range UAV video data link, please remember to contact us, our technical engineers will be happy to help you.

The purpose of this video is to show the function of our wireless video data link, one transceiver pair (including transmitter and receiver), which bridges the flight control PixHawk 4 and the computer-side ground station software (such as Mission Planner) through the transparent serial port.
The transmitter module of this wireless link is connected to the telemetry interface of the flight controller through TTL, and the receiver of the wireless link is connected to the computer through a USB to UART cable (you can see the serial port COM17 set in the upper right corner of Mission Planner in the video, with a baud rate of 57600).
The final running effect, holding the flight controller with your hand, simulates the flight of the aircraft, and the Mission Planner video screen can sense the change in the flight status.
First use the transmitter module of the wireless video data link to dock with the flight control Pixhawk 4, which also connected the GPS module, and then connect the TTL telemetry port to our transmitter module go to the D2 data interface, and then wirelessly connect to the receiver module at the far away side.
The D2 data port of the receiving module of the wireless video data link is connected to the UART port of the PC. Run the Mission planner on the computer, set COM17 and Baud Rate 57600 in the upper left corner, and remotely access the flight control and launch module data through our wireless link. Click connect, now you are connected and getting data.
Look at the computer screen, the data of the Mission planner comes out, and the data is also changing, then move the flight control module, and look at the screen, when you move it left and right, The angle changed accordingly, indicating that our data wireless link has been successfully working, and the data of the transmitter and flight control is downloaded in real-time to the receiver of the wireless link and the computer screen.
Because the flight control is mainly at the TTL level, the module is used for testing, and the whole machine of TX900 is also the same operation (default RS232 level).