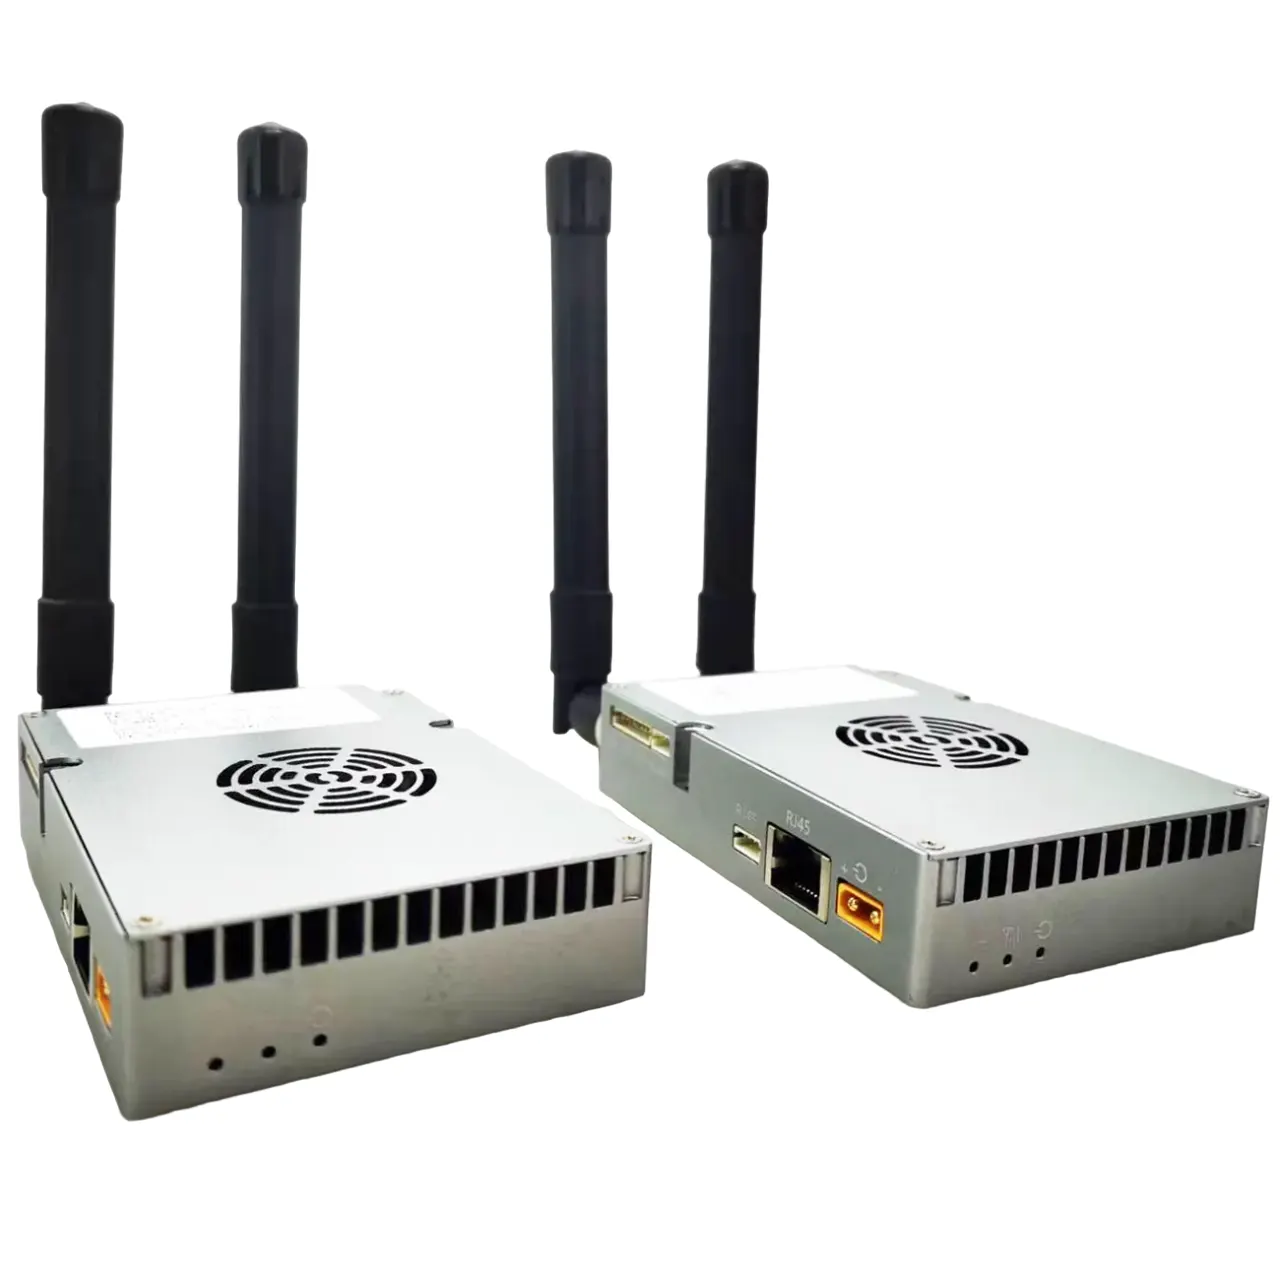


Driving recorder with GPS with External Camera VCAN1301
$37.80
Excluding Freight


VCAN1301
Driving recorder with GPS with External Camera
era High Definition Car DVR
User Guide
Instruction of Buttons
Functions of Buttons
1. Power Button/Fill Light
Function 1): Power On/Off
To power on device, press the Power Button for 3 seconds. Video recording automatically activated after device switched on. Press the Power Button again for 3 seconds to switched off device.
Function 2): Fill Light
Press Power Button to activate fill light on/off/auto mode. Under auto mode, fill light would be activated/de-activated automatically according to driving environment.
- REC/ Confirmation
Function 1): Activate Video Recording
To start video recording, shortly press REC button under standby mode. Press it again to stop the video recording.
Function 2): Confrim
Under Menu/Photographic/Playback mode, REC is also functioned as confirm/ok button. - Menu Button/Display Control Button
Function 1): Enter Menu
To enter menu and setting, shortly press the menu button under standby mode. Press the page up/down buttons for selecting; Press the camera button to confirm. Shortly press the menu button to exit.
(Video Mode, Photographic Mode, Playback mode with same operation)
Function 2): Display On/Off
Display can be switched off and on by pressing the Menu button for 3 seconds. (Switch on or off the display does not affect video recording) - Video Locking/Movement Detection/Display of Camera View/Page Up
Function 1): Video Locking
For a record of an evidence video, press video locking button during recording status for 3 seconds. A video footage will be saved for pre 10 seconds to next 20 seconds. This footage cannot be overwritten by loop recording.
Function 2): Movement Detection
To activate movement detection, press emergence button under standby for 3 second. Shortly press Video Locking button to de-activate movement detection.
Function 3): Displaying of Camera
While connecting external camera successfully, a sign of notification would be showing on display. To switches display of front camera, external camera and picture in picture, display side by side by shortly press video locking button under standby mode.
Function 4): Page Up
Video Locking button functioned as page-up button under the menu and the playback interface. - MIC/Page Down/Full Screen
Function 1): Audio Recording On/Off
During Video Recording, for not to recording audio into videos by shortly press MIC button. Microphone sign at the right corner showing banned, meaning MIC have been mute. To record audio in video by press MIC button again, microphone sign unbanned.
Function 2): Page Down
MIC Button functioned as page-down button under the menu and the playback interface.
Function 3): Full Screen
Press MIC button under standby for 3 second to entre full screen mode, press 3 seconds to exit.
- Photographic/Playback/Play, Pause
Function 1): Photographic
To enter photographic mode, shortly press the photographic button under standby. Press the same button to take photos. To exit photographic mode, by shortly press REC button.
Function 2): Playback
To enter playback mode, press the photographic button for 3 seconds. Press the Video Locking (page up)/MIC Button (page down) to select images and videos, press photographic button again to view selected media file. Press REC 3seconds to exit playback.
Function 3): Play/Pause
Under playback mode, press the camera button to play/pause a video. - Reset Button
In the times that you experiencing trouble with your device, please restart device by shortly press reset button.
Instruction - Installing Instructions
- Shut down car engine.
- Insert the TF card into the slot of the device.
[Caution] Suggesting using MicroSD card class 8 or above for the car DVR and memory no less than 512MB. The device support maximum 64GB TF card. - Stick the DVR mounting stand on front window.
[Caution] Please cleanse window before sticking mounting stand. Dirt and trace of water have result in less time of usage. To adjust mounting frame position, please use attached cotton thread, place at the edge between sticker and window, pulling from left to right and right to left until the sticker removed. - Plug in car charger into the car cigarette lighter.
- Connect car charger to the Car DVR USB input with charging Cable.
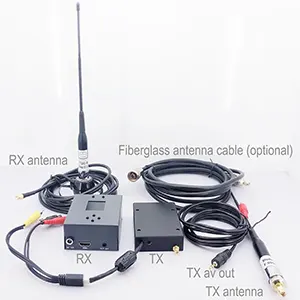
[Caution] USB cable can be laid around front window. - Place external camera at the back of the car, mind the direction of the view of the camera. Cable can be laid across the seats to the Car DVR at the front, connect external camera by plug the camera AV cable into Car DVR AV-IN port.
- Adjust camera position, ensure the line of sight is perpendicular to the ground.
- Starting engine, check if DVR has been installed correctly.
[Caution] Indicating lights turned on while device is functioned and installed correctly; Video recording indication light flashes while device is recording. Please check with the display, contact us if it is showing upside down.
| Weight | 1 kg |
|---|

Reviews
There are no reviews yet.