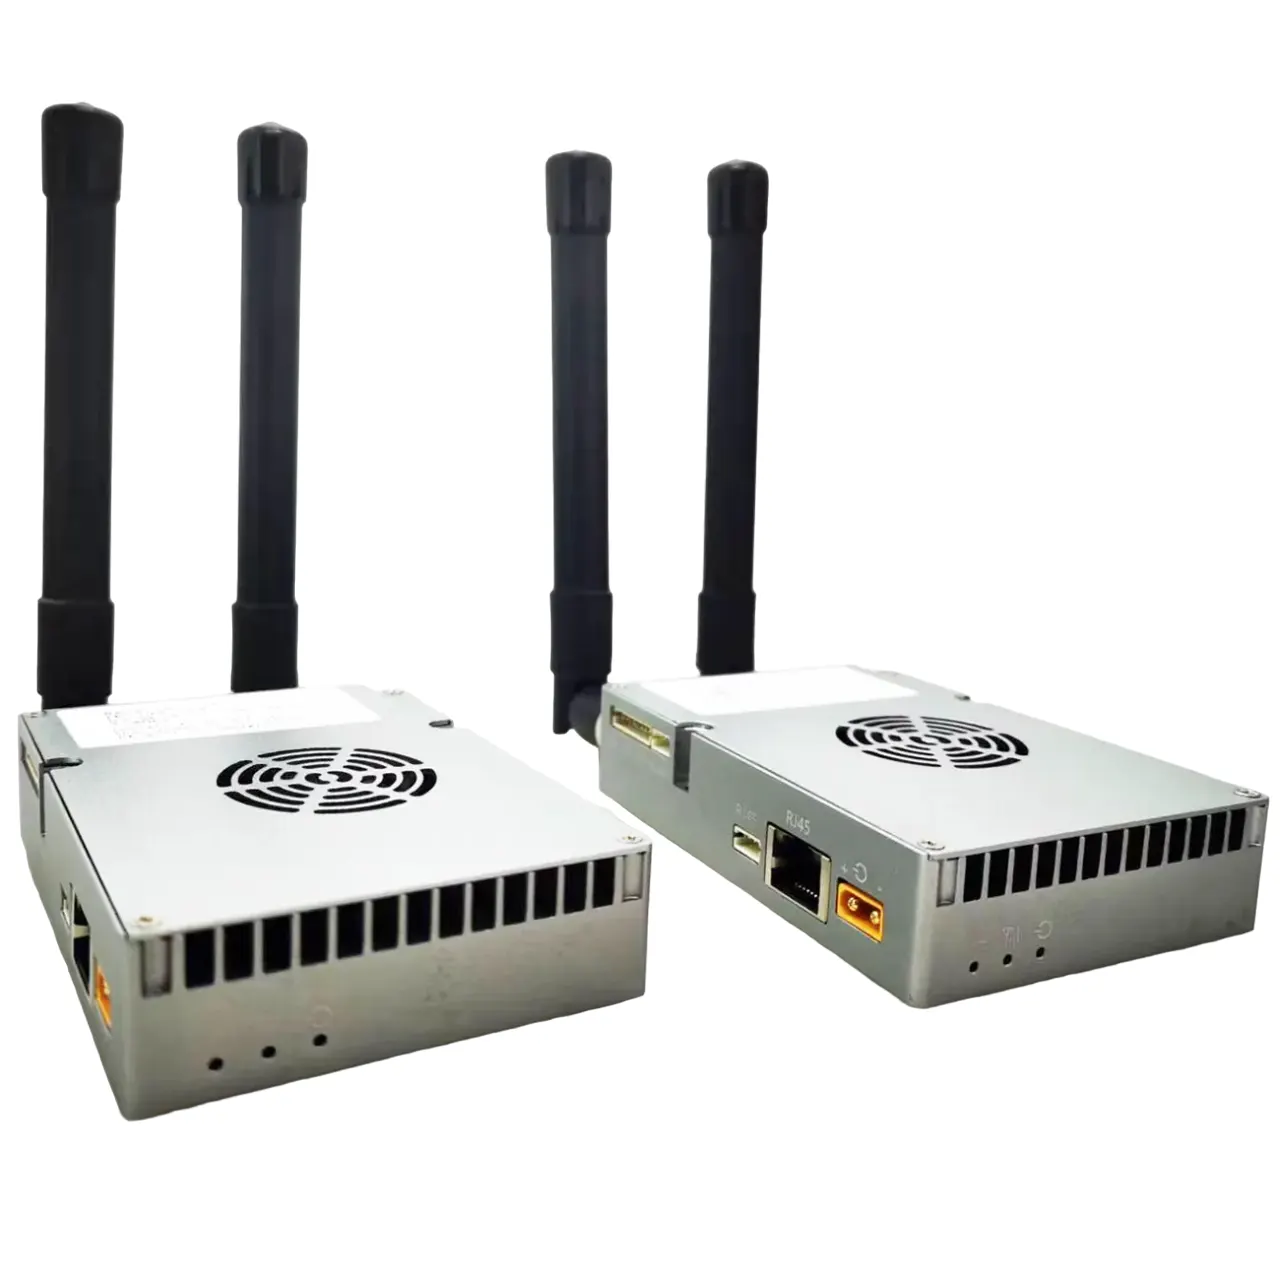
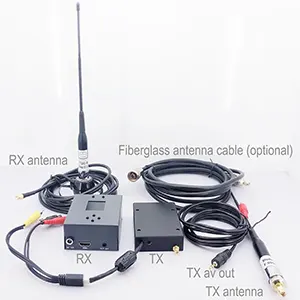
HDMI input to IP encoder web UI operation instruction
HDMI input to IP encoder web ui is a system for our HDMI video input transfer the IP living stream ethernet RJ45 output. The default IP address of our HDMI input to the IP encoder module board is http://192.168.1.30. If your computer can ping to this address successfully, Please open this IP address in the browser. You can view the current parameter configuration or modify it according to application needs.
Note: To change any configuration parameters through the Web UI, the hardware system must be restarted for the changed configuration to take effect.
HDMI input to IP encoder web UI setting
1. Network Menu Page

Local IP: the default IP address of the HDMI input to IP encoder module board;
Remote IP: the IP address of the remote supporting decoding system delivered through the network. The video data encoded by the encoding board and the serial port data and audio data collected by the encoding board (the encoding board generally has a serial data port and an audio input interface) will be sent to the decoding system at the far end of the network through the Ethernet port. The serial port data of the encoding system will be transmitted to the serial port of the decoding board of the remote IP.
The remote IP setting is only available if you bought one pair of boards including the transmitter and receiver.
Port: The port number to which the encoded data is sent through UDP (the port number configured on the decoder side should be the same as the port number configured on the encoder side).
Protocol: Configure the transport protocol used by the encoding system. By default, the UDP protocol minimizes the delay, and it supports and decodes the point-to-point UDP-TS stream transmission of video data between systems. The RTSP protocol supports the decoding end to perform RTSP on-demand (similar to the IP Camera method). Both mean that the video streaming is carried out with the UDP protocol and the RTSP protocol at the same time.
2. Video Menu Page

Low latency: low latency encoding mode option. Only when the H264 low-latency decoding system is connected (the corresponding decoding system is also set to “low latency”), Yes can be checked here. To connect to any other H265 and H264 decoding systems, check No here. (The low-latency attribute is only applicable to models that support low-latency codec, please consult the company for details).
H265: If H265 encoding is required (only for models that support H265 encoding, please consult the company for details), check Yes here. Checking No means H264 decoding.
Bitrate: Video encoding maximum bitrate setting. 0 means to use the system default settings (the system default video encoding maximum stream is 3.12Mbps).
GOP: Video encoding I frame interval setting, 0 means the system default setting.
3. Audio Menu Page

Audio:
on —- turn on the audio input capture and encoding function;
off —- turn off the audio input capture and encoding function.
Aout: The encoding system can receive the audio data sent by the remote decoding system through the network for decoding and output.
Yes —-Enable audio decoding output;
No—-Disable audio decoding output function.
Ain:
Auto—-The system automatically captures audio from the current video input interface; for example, when the current video input channel is HDMI, select Auto to capture digital audio from the HDMI interface; when the current video input channel is AV, select Auto to capture digital audio from the HDMI interface. Capture analog audio from the AV interface.
Anlg—-The system only captures analog audio from the AV interface.
Note: When reverse voice support is required (the video decoder sends voice to the video encoder), the audio input (ain) here must be configured in Anlg mode.
Lin:
Mic —- Capture analog audio from the AV interface in Mic in mode. (The hardware connection of the encoding system must also be in Mic in mode)
Lin —- Collect analog audio from the AV interface in Line in mode. (The hardware connection of the encoding system must also be in Line in mode)
4. Serial Menu Page

Our HDMI to IP encoding board has one data serial port. When the serial port data collected by the encoder board needs to be transmitted to the corresponding serial port of the remote decoder board through the network, the serial port communication parameters are set here. If the serial port of the encoding board is not used, the settings here have no effect on other functions of the system.
Baud_Rate: Set the baud rate of the data serial port of the encoding board.
Parity: Set the parity mode of the data serial port of the encoding board.
None/odd/Even correspond to: no parity/odd parity/even parity mode.
Max gap(ms): Set the maximum transmission interval of serial port data (to ensure real-time performance).
Max packet: Set the maximum packet size of the serial port data (if it is transmitted through a wireless link, it should be avoided that the transmission IP packet is too large).
5. RTSP Menu Page

When the encoding module transmission protocol is set to use Rtsp in the Network menu item, you can view the real-time video stream access URL of the encoding system through this page. The RTSP Client (VLC, etc.) can access the RTSP video stream of the encoding system through this URL.
(Note that the uppercase and lowercase letters cannot be wrong)
6. System Menu Page

This menu is used to check the software firmware version of the encoding board system and update the software firmware through the Web UI.


